Best Backpack Size for Hiking to High Mountain Lakes
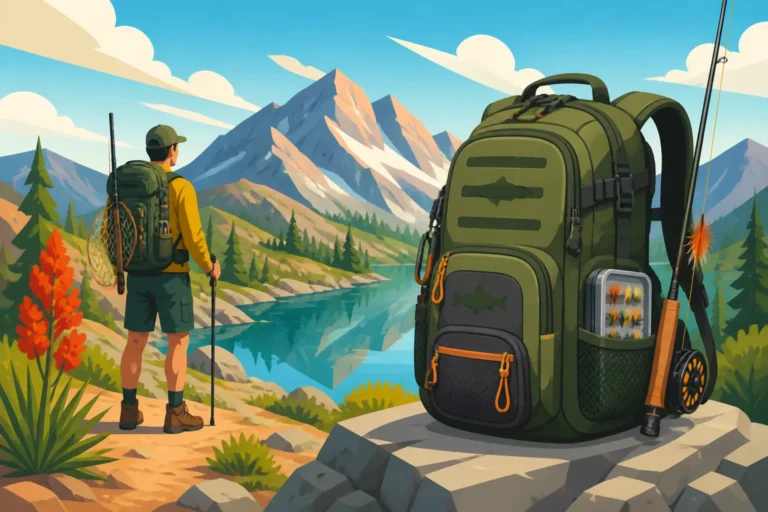
Oh, the allure of those high mountain lakes in New Mexico! There's nothing quite like hiking deep into the wilderness, away from the crowds, to find pristine waters teeming with trout. But if you've ever embarked on one of these adventures, you know the struggle is real: how do you pack everything you need for fishing, safety, and comfort without feeling like a pack mule? This guide is here to help you navigate the tricky terrain of choosing the absolute best backpack size for your high-altitude angling expeditions, ensuring you carry what you need without overpacking.
Why Backpack Size Matters for High Mountain Lake Fishing
Heading into the high country for a fishing trip isn't just a stroll in the park. You're often dealing with significant elevation gains, rugged trails, and unpredictable weather. The backpack you choose is more than just a container for your gear; it's a critical piece of equipment that directly impacts your comfort, safety, and ultimately, the enjoyment of your entire trip. A poorly sized pack can lead to unnecessary fatigue, chafing, and even potential injuries, turning a dream fishing expedition into a grueling ordeal.
The Delicate Balance: Weight vs. Necessity
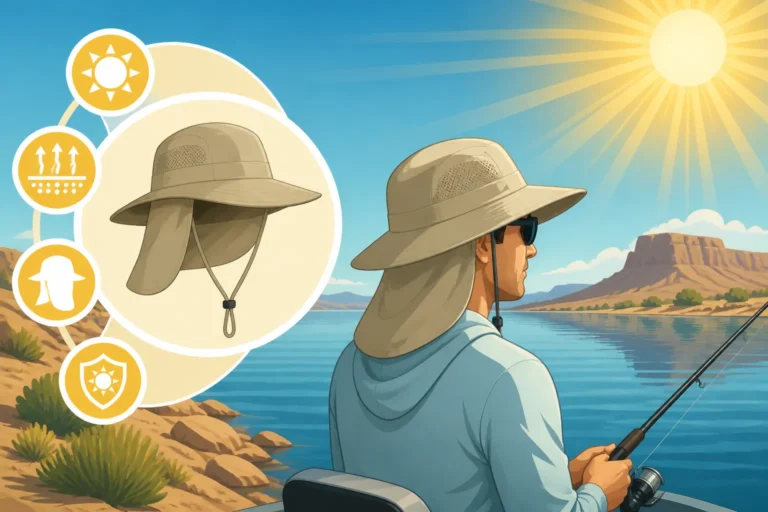
Think about it: every ounce counts when you're ascending several thousand feet to a remote alpine lake. Your fishing gear, water, food, first-aid kit, and layers for fluctuating mountain temperatures all add up. The challenge lies in finding that sweet spot where you have everything genuinely essential without carrying superfluous items. Forgetting something crucial, like a Best Sun Protection Gear for New Mexico Reservoir Fishing hat or adequate water, can put you in a tough spot. On the flip side, bringing five different types of lures when two would suffice means lugging around dead weight. It's a constant mental battle between "what if" and "do I truly need this?" especially when you’re eyeing a challenging ascent to a lake known for its elusive cutthroat.
Many anglers tend to err on the side of caution, bringing too much rather than too little. While preparedness is admirable, excessive weight can quickly drain your energy, making the hike itself miserable and leaving you too tired to fully enjoy the fishing once you arrive. A lighter pack means more energy for casting, more mobility on uneven terrain, and a generally more pleasant experience. It allows you to move faster and further, potentially reaching those truly untouched honey holes that others can't or won't access.
Avoiding Common Packing Pitfalls
One of the biggest mistakes I see folks make is stuffing a small daypack to bursting, with gear strapped precariously to the outside, or conversely, using a massive expedition pack for a short day trip, leaving it mostly empty and unbalanced. Both scenarios are less than ideal. A small pack that's overstuffed can hinder your movement, catch on branches, and put undue stress on zippers and seams. Picture trying to bushwhack through dense pine trees with a fishing rod case flapping wildly from the side of a strained daypack – it's an accident waiting to happen.
Using an oversized pack for a minimalist trip can also be problematic. An empty pack doesn't distribute weight correctly, causing it to slouch, shift, and rub in uncomfortable ways. It can also tempt you to fill that empty space with non-essential items, just because you have the room. We've all been there: "Oh, I have extra space, I might as well throw in that extra large can of beans, even though I'm only going for a few hours." This adds unnecessary bulk and weight without providing a tangible benefit. The goal is a snug, efficient fit, whether your pack is full or just carrying the bare essentials.
Calculating Your Load: Factors Influencing Backpack Size
Determining the perfect backpack size isn't a one-size-fits-all equation. It hinges on several key factors related to your specific trip and personal needs. Before you even start looking at liters, take a moment to honestly assess what your adventure will entail. This isn't just about the fish you hope to catch, but the journey to get there.
Trip Duration and Overnight Stays
This is arguably the most critical factor. Are you planning a quick morning-to-afternoon dash to a relatively accessible high lake, or are you envisioning a multi-day backcountry trek, sleeping under the stars?
For a day trip, where you'll be back at your vehicle before dark, you'll generally need a smaller pack, typically in the 15-30 liter range. This is enough space for water, snacks, a basic Best Tackle Box Setup for New Mexico Anglers, a rain jacket, a small first-aid kit, and perhaps a compact camera. You're focused on agility and minimal weight. You might be able to fit a collapsible fishing rod or secure a multi-piece rod to the exterior. Many anglers find something like a hydration pack with extra storage works perfectly.
However, once you introduce an overnight stay, the game changes completely. Now you're adding a sleeping bag, a sleeping pad, a tent or shelter, cooking gear, more food, and potentially extra clothing layers. This quickly bumps you into the 40-70 liter range, or even larger for longer excursions. A multi-day trip might even push you into the 70+ liter "expedition" size. It's astounding how quickly camping gear consumes pack volume, and you definitely don't want to be trying to strap a full-size sleeping bag to the outside of a 30-liter daypack. Consider the "Gear List for a Multi-Day Backcountry Fishing Trip" if you're planning an extended stay.
Essential Gear: Fishing, Safety, and Survival
Beyond just your personal items, consider the specialized gear required for high-altitude fishing in New Mexico.
- Fishing Gear: Your rod (collapsible or multi-piece is key for hiking), reel, a small selection of Best Lures for New Mexico Trout, extra line, nippers, and maybe a small landing net. If you're fly fishing, you'll need your fly box, leader, tippet, and possibly waders if you expect to be in the water. For most high lakes, you won't need full chest waders, but lightweight wet-wading pants or quick-drying shorts might be all that's necessary.
- Water and Hydration: This is non-negotiable. Whether it's a bladder system, water bottles, or a purification filter for refilling from streams, you need a plan. Water is heavy, so knowing where you can safely filter will impact how much you carry.
- Food: High-energy snacks for day trips, or full meal systems for overnight stays. Think lightweight, calorie-dense options.
- Safety and Navigation: A first-aid kit, headlamp, map and compass (or GPS device), fire starter, emergency whistle, and a multi-tool. Even on a well-traveled trail, conditions can change rapidly in the mountains.
- Layers: Temperatures can drop dramatically, even in summer. A good base layer, insulating mid-layer (fleece or puffy jacket), and a waterproof/windproof outer shell are essential. Don't forget a warm hat and gloves!
- Miscellaneous: Sunscreen, insect repellent, toilet paper, small shovel (for burying waste), and maybe a small pair of binoculars for spotting wildlife or distant rises.
All these items have varying sizes and weights. Lay them out on your floor and visualize how much space they'll take up. This pre-visualization exercise, often called a "gear explosion," is incredibly helpful before committing to a pack size.
Comfort and Accessibility on the Trail
A great backpack isn't just about volume; it's about how it fits you. Even a perfectly sized pack will be miserable if it doesn't fit your torso length or hip circumference correctly. Look for adjustable suspension systems, padded shoulder straps, and a robust hip belt that can transfer weight to your hips, relieving your shoulders. A pack that rides too high or too low, or whose shoulder straps dig into your neck, will make every step agony.
Accessibility is also key. Do you need quick access to your water bottle without taking the pack off? Are there exterior pockets for snacks or a map? Can you easily attach your fishing rod without it becoming a nuisance? Some packs feature stretchy mesh pockets on the sides, perfect for water bottles or a rain jacket. Others might have daisy chains or compression straps that are ideal for securing a fishing rod tube or a lightweight camp chair. When checking out options at a place like Bass Pro Shops or browsing on Amazon, read reviews that specifically mention comfort during long hikes.
Choosing the Right Backpack Volume
Now that you've considered the duration and gear, let's talk about the actual numbers: liters. Backpack volumes are typically measured in liters, indicating the total internal carrying capacity. This isn't just arbitrary; it gives you a clear metric to compare different packs.
| Trip Duration | Recommended Backpack Volume (Liters) | Example Items |
|---|---|---|
| Day Trip (4-8 hours) | 15-30 Liters | Water, snacks, rain jacket, small first-aid, tackle box, multi-tool, camera, license. |
| Overnight (1 night) | 40-55 Liters | All day-trip items PLUS: Sleeping bag, pad, small tent/bivy, cooking system, more food, extra layers, headlamp. |
| Multi-Day (2-3 nights) | 55-75+ Liters | All overnight items PLUS: More food, fuel, additional layers, camp shoes, larger first-aid, navigation tools, larger water reservoir. |
This table provides a good starting point, but remember, personal packing style and gear choices can significantly shift these recommendations. A minimalist might get away with less, while someone who prioritizes comfort or carries specialized camera gear might need more space.
Day Trips: Lightweight and Efficient
For those glorious New Mexico day trips to a high mountain lake, a smaller pack is your best friend. We're talking about anything from 15 to 30 liters. This size is perfect for carrying your essentials without adding undue bulk or weight. You want something that allows you to move freely, scramble over rocks, and navigate narrow trails without feeling cumbersome.
Many anglers opt for a technical daypack designed for hiking, or even a specialized fishing-specific pack that integrates rod holders and multiple small pockets for tackle. Think about quick access – water bottle pockets, a small top pocket for your phone or car keys, and perhaps a dedicated compartment for a hydration bladder. You'll likely bring a compact Best Rod Setup for New Mexico Trout Fishing that breaks down easily or a telescoping rod, fitting neatly into the pack or secured along the side. The key here is mobility and speed, allowing you to focus on the fishing rather than struggling with your gear.
Overnight and Multi-Day Excursions
When your high-country fishing trip extends beyond a single day, you'll need to step up to a larger pack, typically in the 40 to 70-liter range. This extra volume is crucial for accommodating your sleeping system (bag, pad, tent), cooking essentials, and additional food and clothing layers necessary for staying comfortable and safe in the backcountry. Best Fishing Backpack for Hiking to High Lakes options often fall into this category, offering a good blend of carrying capacity and specialized features.
For an overnight trip, a 40-55 liter pack is often sufficient. You'll be carrying enough for one night, meaning a single dinner, breakfast, and extra snacks. If you're going for two or three nights, you'll likely need to scale up to 60-75 liters. This allows for more food, more fuel, and possibly heavier clothing for colder nights. When selecting a pack of this size, pay close attention to the suspension system. A good hip belt and adjustable torso length are paramount to comfortably carrying a heavier load over multiple miles. Look for packs with external straps for securing items like a foam sleeping pad or even a small packraft if you're feeling ambitious and the lake allows it.
Features to Look For Beyond Just Size
Beyond the liter capacity, a backpack's design features can make or break your high-mountain fishing experience.
- Internal Frame: Most modern backpacking packs feature an internal frame, which helps distribute weight efficiently and provides structure to the pack. This is almost universally preferable for anything over 30 liters.
- Compression Straps: These are invaluable. They allow you to cinch down your load, keeping it stable and preventing items from shifting around inside the pack. They can also be used to secure items like a rod tube or a rolled-up jacket to the outside.
- Multiple Access Points: Some larger packs offer top-loading, front panel access, or even bottom access for your sleeping bag compartment. This can be a huge convenience when you need to grab something from the middle or bottom of your pack without emptying everything out.
- Pockets and Organization: While a large main compartment is important, well-placed external pockets (hip belt pockets, side pockets, lid pockets) can keep essentials like snacks, a map, or bug spray readily accessible. You don't want to stop, drop your pack, and rummage for your fly box every time you want to change flies.
- Durability and Weather Resistance: High mountain environments can be harsh. Look for packs made from tough, ripstop fabrics that can stand up to abrasion from rocks and branches. While few packs are truly waterproof, many offer built-in rain covers or are made from highly water-resistant materials, which is crucial for those sudden afternoon monsoons that New Mexico is known for.
- Hydration Compatibility: Most good hiking packs will have an internal sleeve for a hydration bladder and a port for the drinking tube. This makes staying hydrated much easier, especially when you're exerting yourself on an uphill climb.
When you're comparing packs, whether you're at a Bass Pro Shops trying them on or reading detailed descriptions on Amazon, think about how each feature will benefit your specific fishing style and the demands of New Mexico's high country.
Packing Strategies for Optimal Space and Comfort
Once you've chosen your ideal backpack, the way you load it is just as important as its size. A well-packed backpack feels lighter, sits more comfortably, and makes retrieving items a breeze. There's an art to it, and a few key strategies can significantly improve your backcountry fishing experience.
Layering and Compression Techniques
Effective packing starts with intelligent layering and utilizing every bit of space. Think about the "heavy at the bottom, light at the top" rule, but with a twist for stability.
- Bottom Layer (Sleeping Gear/Bulky but Light): Start with your sleeping bag and sleeping pad if they are lightweight and compressible. These items are bulky but don't have a lot of weight, and you generally won't need them until you reach camp. Stuffing your sleeping bag into the bottom compartment (if your pack has one) helps create a soft, stable base.
- Middle Layer (Heavy & Dense): This is where your densest and heaviest items go, positioned close to your back and between your shoulder blades. This includes things like your water reservoir (if it's full), heavy food items, and cooking fuel. Keeping the weight centered and high prevents the pack from pulling backward or swaying, which can throw off your balance and strain your back.
- Top Layer (Essentials & Access): Items you'll need frequently or quickly should be at the very top or in the lid pocket. This includes your rain gear (crucial for New Mexico Fishing Season Dates and Limits), snacks, a first-aid kit, and perhaps your fly box or tackle. You don't want to dig through your entire pack just to grab a quick bite or a different lure.
- Stuff Sacks and Dry Bags: Use stuff sacks to organize similar items (e.g., all your clothing in one, all your cooking gear in another). For items that absolutely cannot get wet, like your sleeping bag or extra clothing, a lightweight dry bag inside your pack is a wise investment, especially given the potential for sudden storms in the mountains.
Remember, compression is your friend. Cinch down those internal and external compression straps to stabilize your load and reduce overall bulk. This ensures your pack feels like one cohesive unit, not a collection of shifting items.
External Attachment Points and Organization
While the bulk of your gear should ideally be inside your pack, some items are simply too long, awkwardly shaped, or frequently needed to be stored internally. This is where external attachment points shine, but they require careful consideration to avoid snags and imbalances.
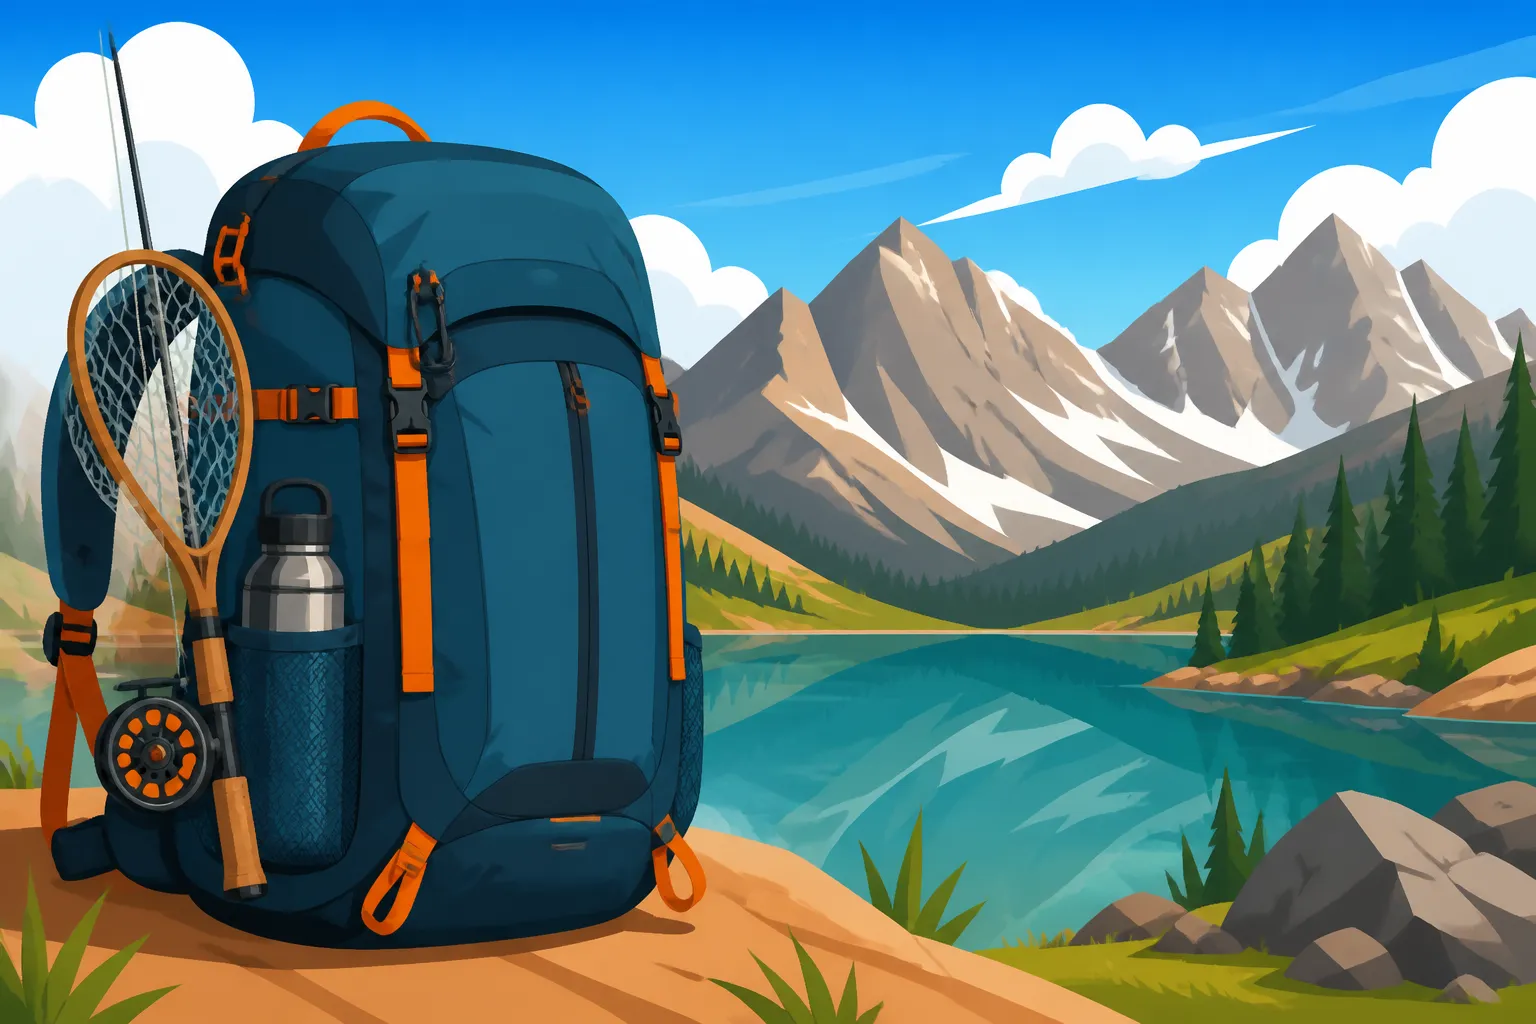
- Fishing Rods: A multi-piece fishing rod (often 4-piece or 6-piece) is a hiker's best friend. Many packs have side compression straps that can securely hold a rod tube. If not, you can often run the rod tube through the side water bottle pocket and secure the top with an extra strap or bungee cord. Just ensure it's not sticking out too far to catch on branches or obstruct your movement. Some specialized fishing backpacks even have integrated rod sleeves.
- Landing Nets: If you use a compact, collapsible landing net, it can often be secured to the side or back of your pack using bungee cords or small carabiners. For Catch and Release Best Practices in New Mexico, a rubber net is ideal, and many come with a belt clip for easy access.
- Small Gear: Hip belt pockets are perfect for small, frequently accessed items like lip balm, sunscreen, a small camera, or a quick snack. Lid pockets are great for maps, headlamps, or a small pair of gloves. Avoid strapping too many small items to the outside of your pack, as they can easily snag or be lost.
- Waders/Wet Gear: If you decide to bring lightweight waders, or if your rain gear is wet, you might want to strap it to the outside of your pack so it doesn't dampen your other gear inside. However, ensure it's securely attached and not flapping.
The goal is to use external attachments sparingly and strategically, only for items that are either too bulky to fit inside, or that require immediate access. Every item hanging off your pack is a potential snag point, so choose wisely.
Distributing Weight for a Balanced Hike
Proper weight distribution is paramount for comfort and preventing fatigue, especially on uneven trails and steep ascents to high mountain lakes. Your pack shouldn't pull you backward, push you forward, or feel lopsided.
- Heavy Against Your Back: As mentioned, keep the heaviest items centered and close to your spine. This allows your core muscles to bear the load efficiently.
- Evenly Distributed Sides: Ensure that the weight on either side of your pack is roughly equal. If one side is significantly heavier, your pack will pull to that side, forcing your body to compensate and leading to discomfort or even muscle strain. For instance, if you have a full water bottle on one side, try to balance it with something of similar weight on the other.
- Load Lifter Straps: These straps, typically found on internal frame packs, connect the top of the shoulder straps to the top of the pack frame. Adjusting them correctly (usually at a 45-degree angle) helps pull the top of the pack closer to your body, preventing it from leaning back and distributing weight more effectively between your shoulders and hips.
- Sternum Strap: This strap across your chest helps stabilize the shoulder straps and keeps them from slipping off your shoulders. It also contributes to an even distribution of weight across your upper body.
Before you head out, do a "test drive" around your house or backyard. Put on your fully loaded pack and walk around for a bit. Does it feel balanced? Are there any hot spots or areas of discomfort? Adjust your straps, redistribute items, and make sure everything feels snug and stable. A little time spent dialing in your pack at home can save you a lot of misery on the trail, leaving you fresh and ready to cast into those beautiful Best New Mexico Lakes for Trout!
Disclaimer
This article is for general informational purposes only and does not constitute professional advice. Laws, prices and regulations vary by location and change over time. Consult a qualified professional for guidance on your specific situation.